Hello everyone!
I'm super excited to share this tutorial with you all because it's so fun and cute! A couple of weeks ago, we celebrated the birthday of one of the girls that works in my office. She's super fun and quirky, so I voolunteered to make some awesome canvases for her! After some recon work and talking with her daughter, we found out that her favorite color is pink, hence the pink gradient! (It looks kind of red in the pictures.) This is a super easy project and probably took me about an hour and a half to two hours to do 2 of them!
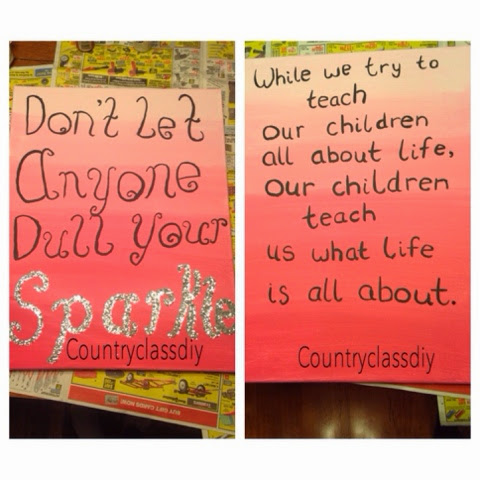
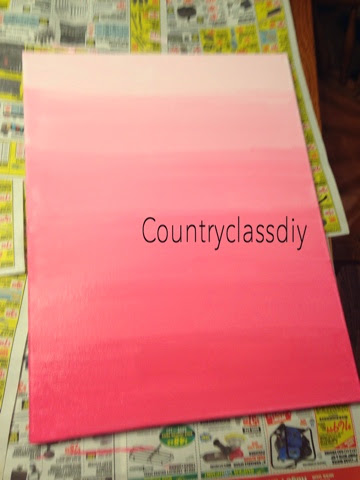
Here are my finished canvases. You can obviously choose any color and saying you want.
What you need:
- Canvas (I always get mine at Walmart because it's the best deal. I used 14x18)
- Glitter (I also got this at Walmart)
- Paint brushes (have varying sizes on hand)
- A large sponge brush
- Red acryllic paint (Or a color of your choice)
- White acryllic paint (You need this to create the gradient look)
- Black acryllic paint (Or whatever color you want your words to be)
- Mod Podge (I have the matte kind)
- A plate for mixing paint colors
- Something to cover your table with (I use newspaper)

HEre's a close up of the acryllic paint I used

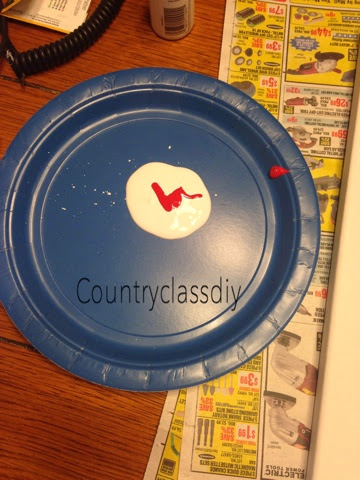
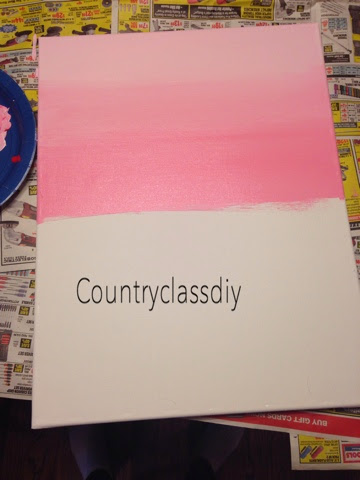
Step 1. Put a large amount of white paint on your plate. Then place a few small drops of your colored paint in the middle. I would do no more than 2. Mix this up with your sponge brush.
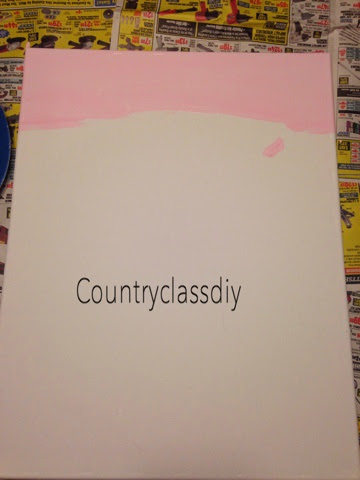
Step 2. After the paint is mixed well, paint a thick line across the top of your canvas. I'd tell you how thick, but I'm terrible with measurements, so just eyeball it. It doesn't have to be perfect because you will be blending with other colors. If you are doing 2 canvases, do all of the gradient painting steps at the same time. So once you're done with the light color on one, go right to the other.
As you can see, I accidentally got paint in the wrong spot.
Something else I want to point out, It's okay to get it on the sides, actually, it's better, because then you don't have to worry about any white edges showing. We'll paint the edges later anyways!
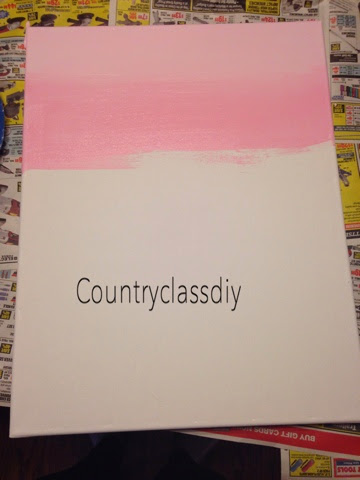
Step 4. Paint another thick line with this mixture, slightly overlapping your first line. Remember, it doesn't have to be perfect!
You don't want the part that's overlapping to be a perfectly solid line, you want it to look like it's fading!
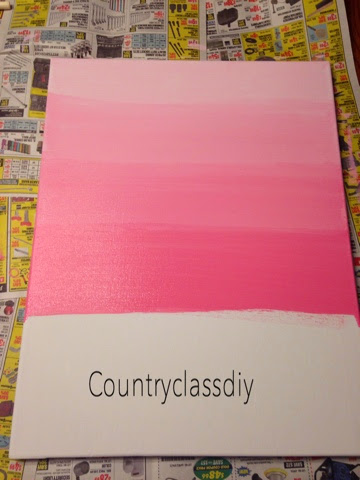
Step 5. Add a few more drops of your colored paint and mix (remember, you can always add more white as well).
Step 6. Paint a third line overlapping the second.
Step 7. Add more of your colored paint. (At this point, you should be adding more and more color and less and less white)
Step 8. Paint a fourth line.
Step 9. Add more colored paint.
Step 10. (I guess I don't ahve a picture here) Paint a fifth line
Step 11. Add more colored paint
Step 12. Paint your 6th and final line.
At this point, take 5 minutes or so to let your paint dry slightly.
This is the brush I used to paint my sides and my words. This is the biggest brush in the pack.

Step 13. After waiting 5 minutes, mix up a bit more of your darkest color and carefully paint the edges of the canvas.

At this point, your canvas should be dry, so you can start with your words!
If you're doing a glitter canvas, make sure to paint your non glitter words first so they have time to dry.
Step 14. Paint your words. I did this on both canvases at oce so that my glitter one had time to dry.
I free handed my words, but you could print different fonts out if you want.


Step 15. Once your painted words dry, grab your mod podge and clean your paint brush. Paint one letter at a time. I suggest painting a thin coat at first to use as a guide then put your mod podge on thick.

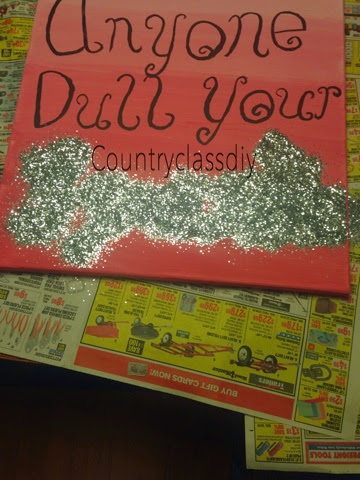
Step 16. Pour glitter over your Mod Podge. I pressed down over the letter with the top to make sure the glitter stuck. (Don't use your finger for this. I made that mistake...you know how glitter is)

Repeat steps 15 and 16 for the rest of the word and you end up with this:
At this point, leave the canvas sitting for a good 10 or 15 minutes. Basically, until you feel that the glue is dry enough.
Step 17. Dump your glitter into the trash can.
This is the finished product!

So there you go, two beautiful canvases!
Let me know what you think and hashtag your recreations to #countryclasdiy for a chance to be featured!
Find me on Pinterest
A quick side note, I took my dog to get spayed on Tuesday and I think It's safe to say she hates me now. I think this picture sums up how she feels about this whole situation. Poor Mollie.

No comments:
Post a Comment